Close
All Categories
    Filters
    Preferences
    Search
    RSS

    Blog posts of '2023' 'August'

    From Raw Timber to Masterpiece Canvas: Demystifying Wood Perfection
    0 From Raw Timber to Masterpiece Canvas: Demystifying Wood Perfection

    Imagine envisioning an awe-inspiring woodworking masterpiece and having the perfect timber at your disposal. However, before starting the creative process, there is an essential step that can make or break the finished product: the preparation of wood. The essence lies in the conversion of raw timber into a meticulously squared marvel - one that boasts of being straight, level, and primed for your artistic flair. In this article, we will demystify the process of attaining wood perfection, even for those who may not be well-versed in the craft of hand-planing.

    The Foundation: Precisely Dressed Wood

    At the core of every triumphant woodworking project lies precisely dressed wood. It transcends mere flatness, encapsulating three fundamental attributes:

    1. Unwavering Straightness: No contortions, no deviations. Just timber that stands tall and unwavering.
    2. Seamless Flatness: A surface so smooth and uniform that it practically calls out for your creative touch.
    3. Perpendicular 90-Degree Edge: A crisp edge that perfectly aligns at a right angle with the broad surface.

    Crafting Excellence: Transitioning from Experience to Machinery

    While the experienced woodworker might achieve perfection through years of hand plane mastery, the rest of us are fortunate to have access to machinery that simplifies this challenge. These contemporary wonders are none other than surface planers and thicknessers, occasionally amalgamated into a singular apparatus known as a planer/thicknesser.

    Step-by-Step Guide

    Let's embark on a journey through the steps that metamorphose raw timber into your canvas for woodworking:

    1. Flattening the Surface

    By employing a surface planer, guide your wood plank through the apparatus. A modest cut of approximately 1.5mm across a couple of iterations will suffice. Prioritize safety by ensuring the guard is in place. This phase culminates in an impeccably flat surface on one facet, serving as a robust foundation for your project.


    1. Creating a Flawless 90-Degree Angle

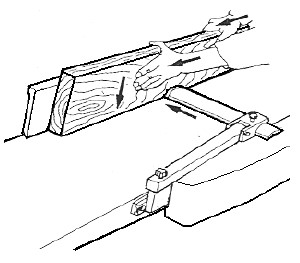
    Once the flat surface is established, shift your focus towards aligning one edge. Configure the fence to be precisely at a 90-degree angle in relation to the table. Match the recently planed flat surface against the fence and execute several passes. This manoeuvre results in a straight edge with a flawless right angle, setting the stage for meticulous artistry.
    1. Embracing Thickness Mode

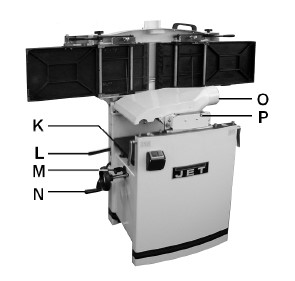
    Transition into the thickness mode by elevating the table, revealing a supplementary one beneath. Introduce the wood to the mechanism, guided by integrated rollers. Customize the table height via the control knob. This facet grants you the autonomy to dictate the ultimate thickness of your wood, catering to the specifications of your project.
     

    1. Completion of Timber Transformation

    Behold! You now possess wood that's squared on three sides. The fourth side, often tailored to suit your project's requirements, is typically shaped using a saw before being planed for a sleek finish.

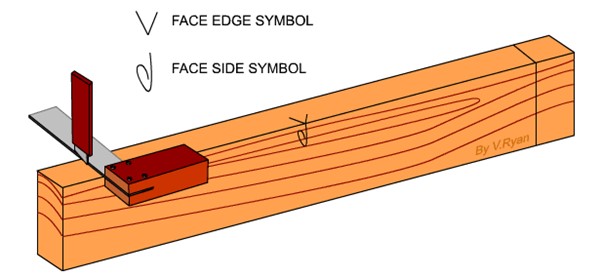
    Bonus Tip: Indicating Prepared Surfaces

    As a gesture of prudent practice, consider marking the surfaces you've readied. This uncomplicated step guarantees that you remain mindful of which surfaces are prepared for your imaginative finesse.
    In Conclusion

    Triumph in the realm of woodworking is rooted in the meticulous preparation of wood. Equipped with surface planers, thicknessers, and a hint of contemporary technology, the journey towards achieving precisely dressed wood is no longer an arduous expedition. The transition from raw timber to a canvas poised for masterpiece creation is now at your fingertips. Embrace the discipline of preparation and watch your woodworking ventures radiate brilliance like never before.

    A Breathable Workshop Environment: The Significance of Dust Collection
    0 A Breathable Workshop Environment: The Significance of Dust Collection

    If you're someone passionate about woodworking, you're well acquainted with the constant presence of dust throughout your creative journey. However, have you considered the potentially serious repercussions of neglecting proper dust collection? Beyond merely contributing to a disorderly workspace, dust can give rise to health hazards and compromise the quality of your craftsmanship. Let's delve into the realm of dust collection and explore how it has the power to revolutionize your woodworking endeavours.

    The Importance of Dust Collection

    Dust isn't just an aesthetic inconvenience; it holds the potential to impact both your health and the overall functionality of your workspace. The advantages of effectively managing dust are manifold:

    Enhanced Workspace Safety: A tidy work area significantly reduces the likelihood of accidents. Stumbling over scattered debris or slipping on a dusty floor can abruptly transform a productive session into a calamity.

    Improved Air Quality: Inhalation of dust particles, particularly when working with woods that carry health risks or trigger allergies, can be detrimental to your well-being. Proper dust collection plays a pivotal role in maintaining clean air and ensuring the well-being of your respiratory system.

    Essential Tools for Managing Dust

    To effectively combat the issue of dust, it's imperative to equip yourself with the appropriate tools.

    Let's explore a few efficient methods for dust control:

    Facial Masks: While basic disposable paper masks offer minimal protection, opting for double-filter masks ensures superior filtration, safeguarding the health of your lungs.

    Face mask

    Filter

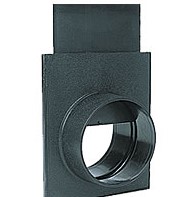
    Vacuum Machines: These robust machines efficiently eliminate dust at its source. By directly connecting them to your tools, you can revel in a pristine workspace as you work. Additionally, their versatility extends to handling liquids, accompanied by the convenience of mobility.

    Vacuum machine

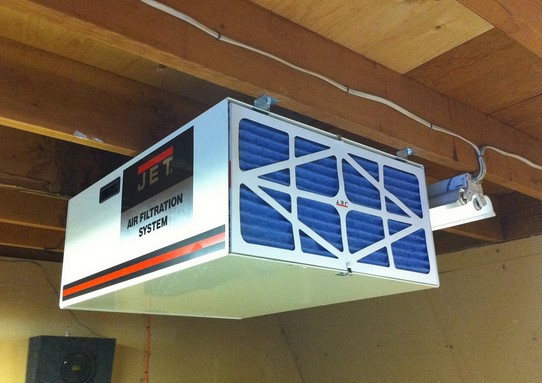
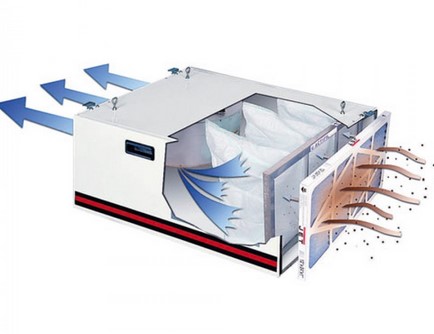
    Suspended Ceiling Filter Machines: By suspending these machines from above, you maintain the purity of the air. Not only do they prevent dust from re-entering the atmosphere, but they also provide a range of filter materials tailored to your specific needs.

    Choosing the Right Filter Fit

    Selecting the appropriate filter holds the key to success. Here are several options to consider:

    Standard Fabric Bags: These filters, with a particle capture capacity of 30 microns, offer fundamental protection.

    Fine Weave Fabric: With a denser structure capable of filtering particles down to 5 microns, this option elevates filtration effectiveness.


    Paper Filter Cartridge: Representing a more advanced choice, this filter operates at an impressive 2-micron level and incorporates a clever agitator mechanism, prolonging its lifespan.

    Mastery of Dust Collection Techniques

    For optimal dust collection, embrace these strategies:

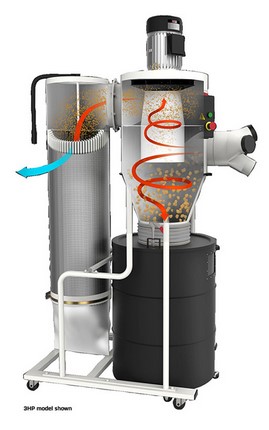
    Cyclone Dust Extractors: At the forefront of efficiency, these extractors leverage a vortex to segregate debris from dust, resulting in highly effective outcomes. Keep in mind their higher cost and potential requirement of 3-phase motors.

    Remote Control Convenience: Ceiling-mounted filter machines often feature remote infrared controllers. This innovation empowers you to regulate speed and even establish a timer for automated shut-off.

    Air filtration systems

    Synergy with Dust Extractors: Achieve unparalleled outcomes by utilizing a dust extractor in conjunction with a filter machine. This dynamic combination ensures maximal dust eradication.

    As a final thought, maintaining a clean workspace transcends aesthetics—it's a fundamental matter of safety, health, and the craftsmanship you dedicate yourself to. Embrace the realm of dust collection, cultivating a woodworking sanctuary that not only fuels creativity but also prioritizes well-being. Your lungs and your latest masterpiece will undoubtedly express their gratitude!

    Selecting the Right Clamps for Woodworking: A Comprehensive Overview
    0 Selecting the Right Clamps for Woodworking: A Comprehensive Overview

    Clamps play a vital role in woodworking and assembly projects, and it is commonly emphasized that having an ample supply of them is essential. Among the various clamp types available, G Clamps are widely used and appreciated. Ranging in size from 50 to 300mm, these clamps are renowned for their strength and durability, capable of withstanding years of heavy use. To ensure their longevity, it is recommended to opt for reputable brands featuring threaded shafts with square profiles. When working with wood, using a piece of timber as a pad during clamping helps prevent any unsightly marks on the wood surface.

    G Clamp

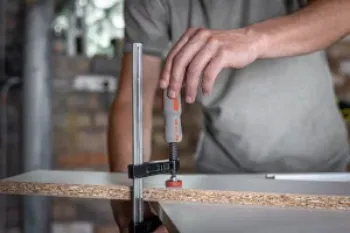
    For projects requiring extended reach, F Clamps become indispensable. Just as robust as G Clamps, they offer the added benefit of being available in longer sizes. To safeguard the timber from potential marks, F Clamps are usually equipped with jaw pads. Sash Clamps, on the other hand, are ideal for assembling larger items like cupboards and for gluing up planks to form substantial surfaces like tabletops. Preventing wood bowing during tabletop gluing can be achieved by alternating the clamps above and below the wood. Using plastic sheeting between the clamp and the wood is advisable when wiping the wood with water to remove excess glue, as it prevents corrosion marks.

    F Clamp


    Sash Clamp


    T Bar Clamps are renowned for their strength, representing a more robust version of sash clamps. Thanks to their "T" section design, they are less susceptible to bending when tightened, and popular sizes typically range from 1200 to 1800mm. In contrast, Quick Grip Clamps prioritise speed, featuring a sliding head that can be swiftly tightened using a trigger lever. While not as robust as sash clamps, they offer great convenience and are versatile in various applications.

    T Bar Clamp

    Quick Grip Clamp

    For lighter tasks, Spring Clamps are favoured among woodworkers due to their affordability and ease of use. WEB/STRAP Clamps, employing nylon web straps or metal straps, prove ideal for frames and boxes, securely holding all four sides simultaneously. Parallel Bar Clamps boast several advantages, including a stable clamping area that does not leave marks on the wood, smooth sliding movement, and the option to reverse the head for spreading clamp action.

    Spring Clamp

    WEB/STRAP Clamp

    Parallel Bar Clamps

    Clamp blocks

    Clamp dog fasteners


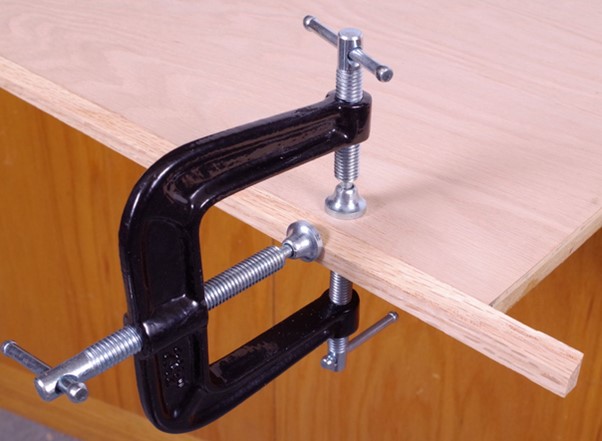
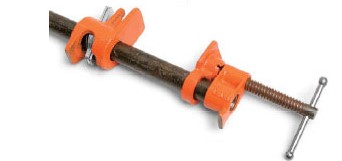
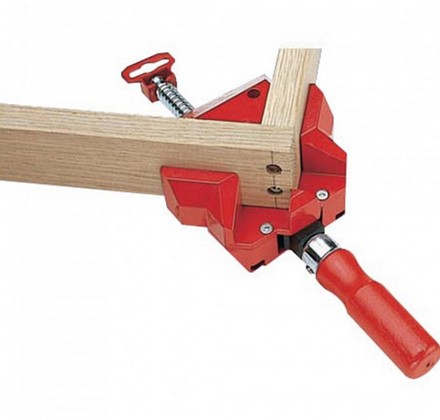
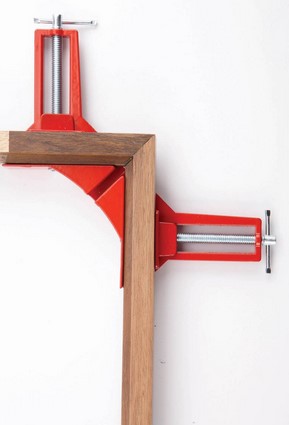
    When working with veneers and edging, Edge Clamps with three-way clamping action come in handy, though wooden blocks are necessary to prevent marking the wood. For longer clamping requirements, Pipe Clamps offer the advantage of customizability and rigidity, with users supplying their pipes for the desired length. Corner Clamps are particularly useful in assembling chipboard structures, firmly holding boards together to facilitate screwing.

    Edge Clamp

    Pipe Clamp

    Corner Clamp 1

    Corner Clamp 2


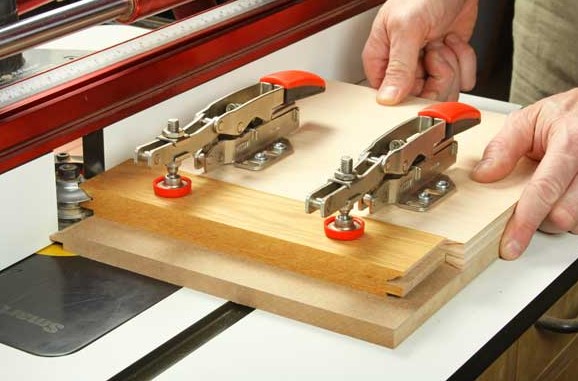
    Toggle Clamps find their utility in securely holding wood on benches or jigs, commonly employed with shaper or routing machines and saws for repetitive work. Finally, Wooden Clamps, with a long history predating cast iron clamps, maintain popularity in Europe due to their ability to evenly distribute pressure over a larger surface area, thus safeguarding the wood from damage.

    Toggle Clamps

    Wooden Clamp