

Are you prepared to immerse yourself in the captivating realm of resin crafting? Whether you're an experienced artisan or an inquisitive novice, working with resin molding offers boundless opportunities to fashion exquisite jewellery and accessories. Here at Strand Hardware, we're eager to accompany you on this journey of exploring resin for molds, empowering you to unleash your imagination and breathe life into your designs.
Understanding Resin
Resin stands as a versatile substance that transitions from a liquid to a solid form upon curing. Its popularity in crafting stems from its clarity, resilience, and its capacity to gracefully encase objects. Epoxy resin and polyester resin represent the two primary types, each possessing distinct traits and applications, yet both are suitable for crafting jewellery and accessories.
Selecting the Appropriate Resin
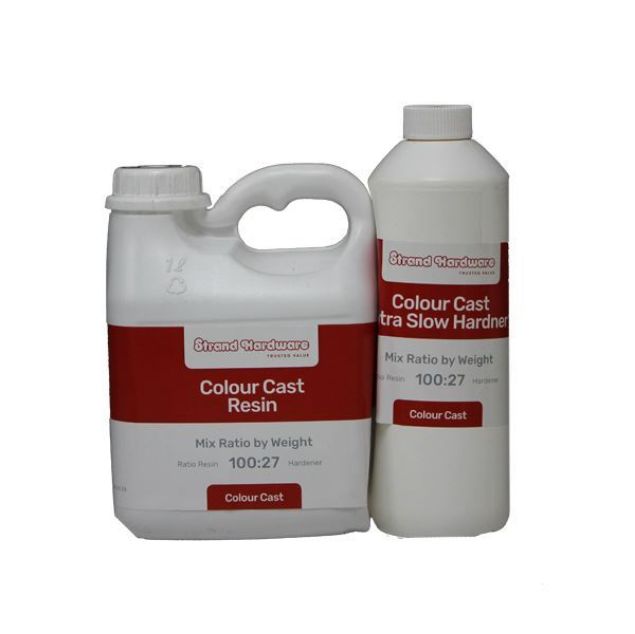
When choosing resin for your molding endeavours, it's imperative to weigh factors like transparency, UV resistance, and curing duration. At Strand Hardware, we present premium-grade resins meticulously crafted for jewellery-making and molding purposes. Our resins offer exceptional clarity, minimal contraction, and superior UV resilience, ensuring the enduring vibrancy and durability of your creations.
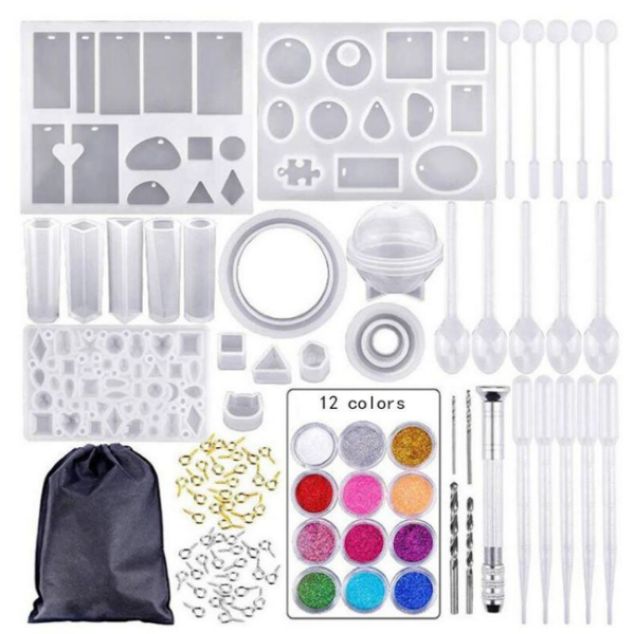
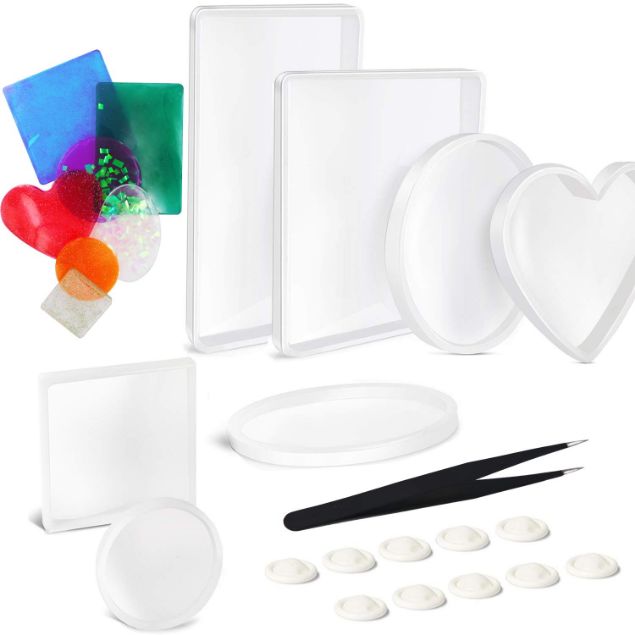
Preparing Your Molds
Before pouring resin into your molds, meticulous preparation is key to achieving optimal results. Begin by meticulously cleaning your molds, ensuring they're devoid of any dust or debris that could compromise the clarity of your final product. If employing silicone molds, applying a thin layer of mold release agent facilitates effortless demolding post-curing.
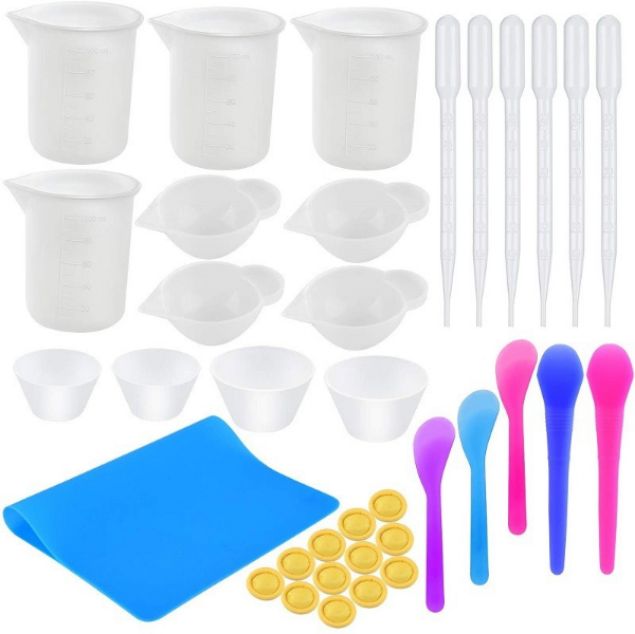
Mixing and Pouring Resin
Once your molds are primed, it's time to blend and pour the resin. Adhere closely to the manufacturer's instructions, as resin mixing ratios and curing times may vary. Employ measuring implements and stirring utensils to ensure precise measurement and thorough amalgamation, as any irregularities could impact the curing process and the ultimate appearance of your piece.
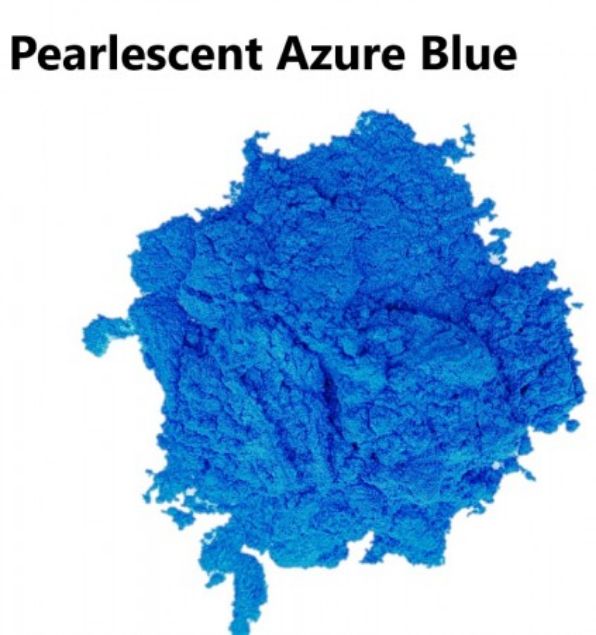
Incorporating Pigments and Additions
An exhilarating facet of resin crafting lies in the ability to personalize your creations with pigments, glitter, and other additives. Experiment with an array of colour combinations and effects to actualize your desired aesthetic. From glistening metallics to vivid fluorescents, opportunities abound for enhancing your resin jewellery and accessories.
Curing and Demolding
Following the resin's placement into the molds, allocate sufficient time for curing following the manufacturer's guidelines. This typically involves allowing the resin to solidify undisturbed for several hours or overnight until fully hardened. Upon completion, delicately remove your pieces from the molds by flexing or peeling away, exercising caution to avoid damage to the resin or mold.
Applying the Final Touches
With your resin creations demolded and cured, it's time to refine them further. Utilize fine-grit sandpaper or a rotary tool to smooth any rough edges and imperfections, preserving the integrity of your design. Additionally, you can drill holes for attaching jump rings or earring findings, or layer additional resin to introduce depth and dimension.
Maintaining Your Resin Masterpieces
To safeguard the longevity of your resin jewellery and accessories, handling them with care and proper storage is imperative. Steer clear of exposing your pieces to excessive heat or direct sunlight, as this may lead to discolouration or distortion over time. Instead, store them in a cool, dry environment, shielded from moisture and humidity.
Embark on Your Resin Crafting Journey Today!
Are you eager to unleash your creativity through resin molding? Visit Strand Hardware to peruse our assortment of top-tier resins, molds, and accessories, and embark on the realisation of your distinctive creations today. Whether fashioning personalised pendants, bold earrings, or singular charms, we furnish all the essentials to breathe life into your designs.

