

My Cart
Search
RSS
Strand Hardware Blog

Mon, Aug 20, 2018 0 MARBLED RESIN WOOD COASTERS
Ever want to make marbled resin wood coasters? Very easy to to do...

Wed, Aug 8, 2018 0 12 Ways To Add Texture With Tools You Already Have
Adding textures to wood using 12 tools
Tue, Jun 5, 2018 0 Reclaimed Wood Cow Art
 I've been searching for the perfect piece art to display above our living room fireplace since we moved in a year ago. After spending the past year staring at the blank wall, I finally decided to try and create my own art.
I decided to use some the wood from our wood pile in the back yard. The wood came with the property when we bought it (I believe it used to be an old shed that was torn down) so it didn't cost a dime! I found a few nice pieces and cut them into 4 foot lengths. 
Since this wood was going to be inside our home I wanted to make sure it was really clean. I sprayed it using the jet setting on our hose then used soapy water and a scrub brush to remove any remaining dirt. After rinsing off the soapy water, I gave them a second scrubbing with bleach water then left them in a sunny spot to dry. 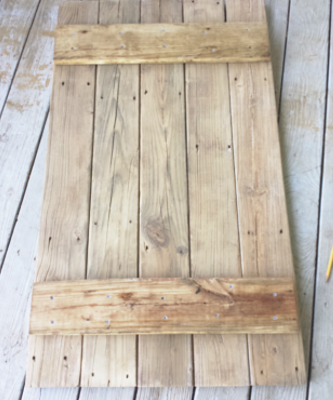
After sanding the boards, I attached two boards across the back to hold everything together.
I found this adorable image on Free Stock Photos and did a little photoshoping to remove the tag that was in his ear in the original photo. Then I used the program that came with my printer to enlarge the image and printed it onto regular paper to make sure it was the correct size. This ended up being a pain in the butt and used up a lot of ink!! Since the image printed out on multiple pages I had to tape them together to get a visual of the size. The first image was way to small. The second image was still a little too small. I finally got it right on the third image. 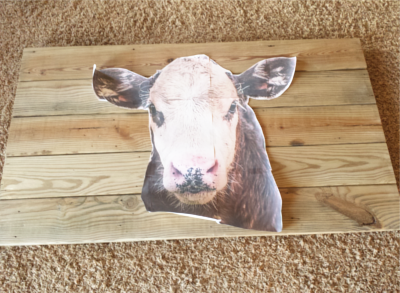
Once I was happy with the size I reprinted the image onto wax paper. To do this, I cut a piece of wax paper and taped it to a piece of regular paper. I then placed it in my printer so that the image would be printed onto the side with the wax paper. 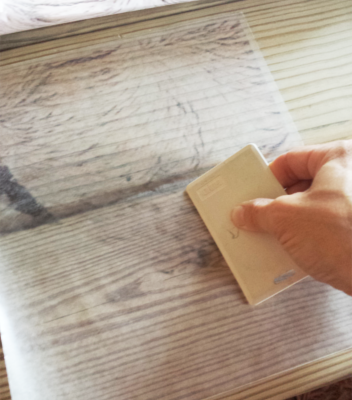
The ink does not stick to the wax paper like it does with normal paper so I had to be very careful not to touch the image or it will smear. I placed the image upside down on the wood and used a thick piece of plastic (a credit card would work too) to rub the back of the image and transfer it to the wood.
Sorry I don't have more pictures but once the image was printed, the ink started drying and was harder to transfer so I didn't have a lot of time to stop and take photos. Basically I started by printing the ear of the cow and transferred it to the wood. Then I printed the next page, lined it up with the image that was already transferred, pressed it down transferring that image to the wood, and so on, and so on, until I had the entire cow image transferred to the wood.
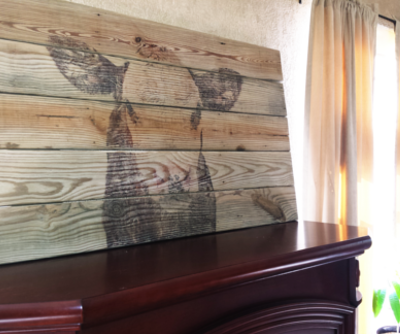
And here is the final project! Don't you just love that sweet little face! I'm a sucker for calves and seeing this guy every time I walk into the room just makes me smile.
This thing is supper heavy and we have not decided how we want to hang it yet. We'll probably end up using some sort of french cleat. But for now, I'm fine with it just sitting on top of the mantel.

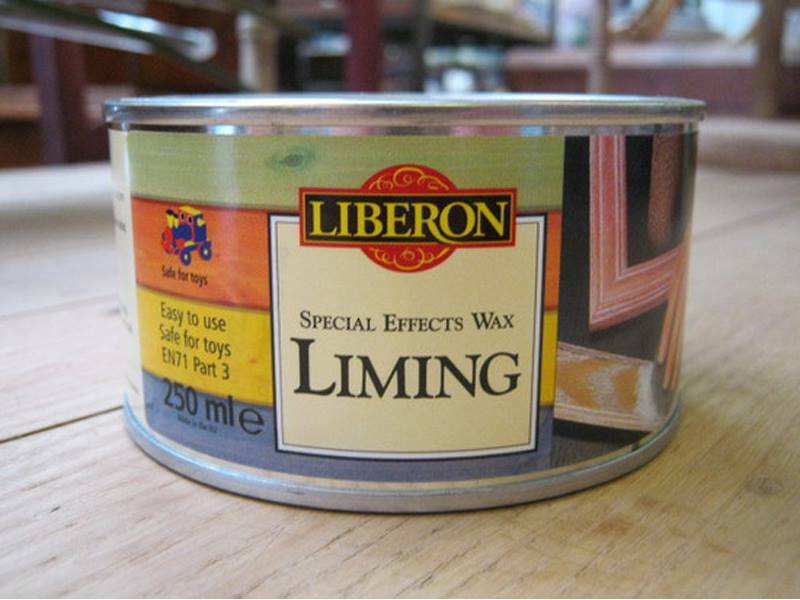
Tue, Apr 10, 2018 0 How to Create a Limed Wood Effect with Liberon Liming Wax
Step One
First you need to open the soft grain of the wood by brushing the piece of furniture with a Liberon Liming Bronze brush working with the grain.
Depending on the type of wood to be limed the obtained contrast between the opened soft grain and the hard grain will be quite different. It will be very visible on hard woods such as oak and mahogany, and less so on soft woods like pine. Always remove the surface dust with a Liberon Tack Cloth.
Step Two
Colour the wood if you wish using Liberon Palette Wood Dyes. This stage is optional; you can also obtain a liming effect on the natural wood colour. A dark wood will render the limed effect more striking than a light wood.
Step Three
Apply Liberon Liming Wax with a pad of Liberon Ultra Fine Steel Wool (Grade 0000). You can also choose one of the coloured waxes such as the Liberon Special Effects Waxes as well. Apply the wax liberally in a circular motion until it fills the grain covering the whole piece of furniture. Allow to dry for five to 10 minutes. The result should be a contrast in colour between the wood and the wax.
Step Four
For a water resistant finish remove the excess Liming Wax using Liberon Finishing Oil applied with a cotton cloth and wipe off immediately. Leave to dry for at least five hours between coats. Several coats may be needed.
Where a water resistant finish is not required apply Liberon Black Bison Wax Polish (Neutral) with a clean cotton cloth to remove the surplus Liming Wax from the surface while still leaving it in the grain. Leave to dry for five minutes before buffing to a soft sheen with a clean cotton cloth or Liberon Furniture Brush.
https://www.strandhardware.co.za/chestnut-liming-wax-400ml
Blog search