Close
All Categories
    Filters
    Preferences
    Search
    RSS

    Strand Hardware Blog

    Revitalize Your Home with Tjhoko Paint: An In-Depth Guide
    0 Revitalize Your Home with Tjhoko Paint: An In-Depth Guide

    Want to refresh your home décor without a hefty price tag? Tjhoko paint, a versatile and user-friendly chalk paint, is your answer. It's gaining popularity in the DIY community for good reason. Whether you're an experienced DIYer or just starting, Tjhoko Paint offers endless creative possibilities. Let’s explore what makes Tjhoko Paint unique and how you can use it to transform your space.

    What is Tjhoko Paint?

    Tjhoko paint is a premium, water-based chalk paint renowned for its rich, velvety finish and excellent coverage. Unlike traditional paints, it sticks to almost any surface with minimal preparation. From wood and metal to glass and fabric, Tjhoko paint unlocks a world of DIY potential. Plus, it’s non-toxic and eco-friendly, making it safe for both your home and the environment.

    Why Choose Tjhoko Paint?

    1. Versatility

    Tjhoko paint can be applied to a variety of surfaces, including furniture, walls, and outdoor items. Its versatility makes it ideal for upcycling old furniture, giving new life to thrift store finds, or adding a splash of colour to your garden pots.

    1. Ease of Use

    A key feature of Tjhoko paint is its user-friendliness. You don't need to be a professional painter to achieve great results. With minimal prep required, you can dive straight into painting. Its smooth application guarantees a flawless finish, even for beginners.

    1. Durability

    Despite its chalky texture, Tjhoko paint is remarkably durable. Once sealed with a topcoat, it resists scratches and stains, ensuring your projects look fantastic for years.

    1. Eco-Friendly

    Tjhoko paint is committed to sustainability. Free from harmful chemicals and low in volatile organic compounds (VOCs), you can paint indoors without worrying about strong fumes or health risks.

    Getting Started with Tjhoko Paint

    Ready to kick off your Tjhoko paint project? Follow this simple step-by-step guide:

    1. Choose Your Project

    Select an item or surface to transform. Tjhoko paint works wonders on furniture like dressers, tables, and chairs, but don’t stop there—walls, picture frames, and even kitchen cabinets are great candidates.

    1. Prep Your Surface

    Though Tjhoko paint requires minimal prep, some preparation helps. Clean your surface thoroughly to remove dust, dirt, or grease. If the item has a glossy finish, lightly sand it to improve paint adhesion.

    1. Pick Your Colour

    Tjhoko paint offers a wide range of stunning colours, from soft pastels to bold, vibrant hues. Choose a colour that complements your décor or go for something striking to make a statement.


    1. Start Painting

    Use a brush or roller, depending on your project size. For smaller, intricate pieces, a brush offers better control. For larger surfaces, a roller ensures an even coat quickly. Let the first coat dry completely before applying a second coat if needed.


    1. Seal Your Work

    Seal your painted surface with a Tjhoko paint sealer to ensure durability. This protects your project from scratches, stains, and daily wear. Various finishes, from matte to glossy, are available to suit your preference.


    Creative Ideas for Tjhoko Paint Projects

    Need some inspiration? Here are a few creative ideas to spark your imagination:

    1. Furniture Makeovers

    Turn an old dresser into a statement piece with a fresh coat of Tjhoko paint. Experiment with different colours for a unique, personalized look.

    1. Accent Walls

    Create a feature wall in your living room or bedroom with a bold Tjhoko paint colour. This can instantly change the room's mood and add dynamic interest.


    1. Outdoor Décor

    Tjhoko paint isn't just for indoors. Use it to update outdoor furniture, plant pots, or garden statues. Its durability makes it perfect for outdoor projects.

    1. Home Accessories

    Revamp picture frames, lamp bases, or even kitchen cabinets. Small changes can make a big impact, helping you achieve a cohesive look throughout your home.

    Where to buy?

    Tjhoko paint is an excellent tool for adding a personal touch to your home. Its versatility, ease of use, and eco-friendly properties make it a top choice for DIY enthusiasts of all levels. So, grab a brush, pick your favourite colour at Strand Hardware, and let your creativity shine with Tjhoko paint. Happy painting!

     Discover the Art of Restoring Wooden Furniture with Liberon: Your Ultimate DIY Guide
    0 Discover the Art of Restoring Wooden Furniture with Liberon: Your Ultimate DIY Guide

    Have you had enough of seeing your once-charming wooden furniture deteriorate due to wear and tear, looking worn out and dull? It's not just you who feels this way. Wooden furniture can tarnish and lose its original beauty over time. The bright side is that these artefacts can be given new life if the correct equipment and methods are used. Presenting Liberon, a reliable partner for both do-it-yourselfers and seasoned pros. We'll explore how to use Liberon products to revitalize wooden furniture and change the look of your home in this tutorial.

    Introducing Oneself to Liberon
    Liberon is a leading company in the wood finishing and restoration solutions market, known for its high-quality formulas and track record of success. Liberon offers customised solutions to address various issues such as unattractive scratches, stubborn watermarks, or the desire to restore the natural beauty of your hardwood furniture.

    Step 1: Assessing the Condition of Your Furniture
    It is crucial to evaluate the state of your furniture thoroughly before starting the restoration process. Make a note of any imperfections, dents, or places where the finish has worn off. This thorough examination will act as a guide for you as you choose the right materials and assess how much restoration is necessary.

    Step 2: Cleaning the Surface
    Start the furniture restoration procedure by carefully cleaning the surface to remove any buildup of dirt, grime, or wax residue. For this task, it is advised to use a wood cleaner with a low pH or a mild detergent. Make sure the surface has dried completely before moving on to the next procedure.
    Step 3: Sanding (if considered required)
    When there are large scratches or uneven surfaces, sanding is necessary to create a uniformly smooth surface on which the next finish can be applied. Use sandpaper with fine grains and follow the direction of the grain in the wood to avoid aggravating pre-existing flaws.

    Step Four: Utilizing Liberon Restorer
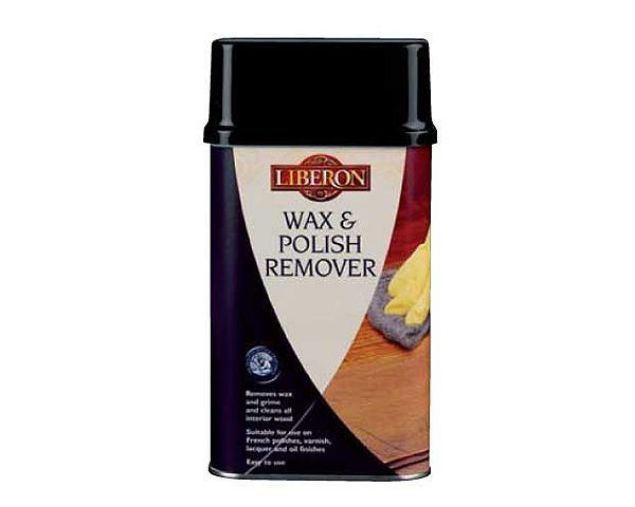
    Now that the surface has been cleaned and polished, apply the Liberon restorer. This solution is designed to get deep into the wood to remove grime, grease, and old wax, restoring the natural beauty of the wood. Using a clean cloth, carefully apply the restorer, focusing on tiny areas at a time. Give the restorer enough time to seep into the wood, then carefully remove any excess with a clean cloth.

    Step 5: Repairing Damaged Sections
    Now is the time to take care of any noticeable dents or scratches on your furniture. Fill in the affected areas with wood filler or putty and sand down until the affected regions blend in smoothly with the surrounding wood.

    Step 6: Liberon Finishing Oil Application
    After making sure the surface is spotless, use the Liberon repertoire's finishing oil. Whether you choose teak oil or Danish oil, these options are carefully blended to bring out the natural beauty of the wood while providing resistance to wear and dampness. Brush off any excess oil after carefully applying the oil in the direction of the grain in the wood and giving it enough time to sink in.
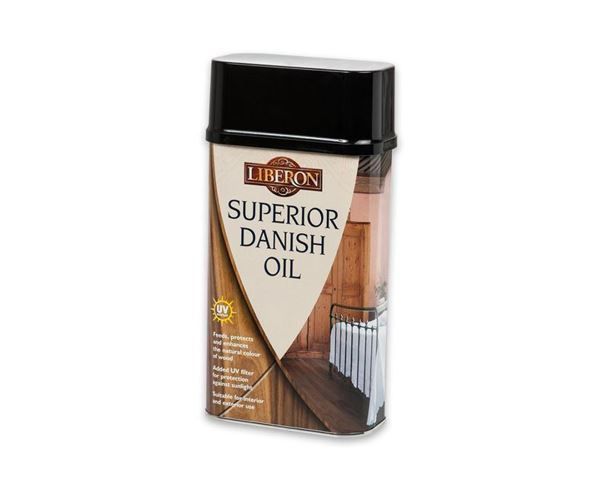
    Step 7: Applying the Last Garnish
    Once the oil has dried completely, stop to admire your hard work. Now your wooden furniture should radiate renewal with a radiant natural gloss. If you want an additional layer of shine and protection, think about putting on a coat of polish or wax.
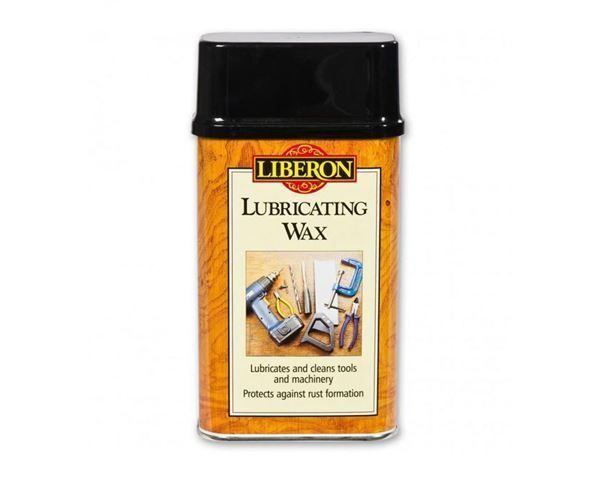
    Pointers for Maintenance
    Keep your refinished wooden furniture looking great by dusting it frequently and avoiding putting hot or wet objects straight on its surface. Liberon finishing oil can be reapplied on a regular basis to reinforce the protective layer and preserve the natural beauty of the wood.
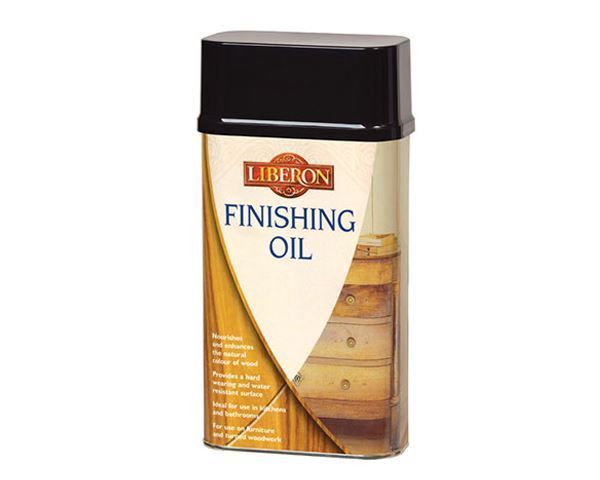
    Taking on the task of restoring wooden furniture using Liberon is a rewarding do-it-yourself project that will infuse your home's design with new life. If you carefully follow these instructions and take advantage of Liberon's best deals, you will be able to enjoy the beauty of expertly restored furniture for many years to come. Why then wait? Launch your repair project now to rediscover the ageless charm of wood.


     

    Mastering Resin Molding: Tips and Techniques for Stunning Creations
    0 Mastering Resin Molding: Tips and Techniques for Stunning Creations

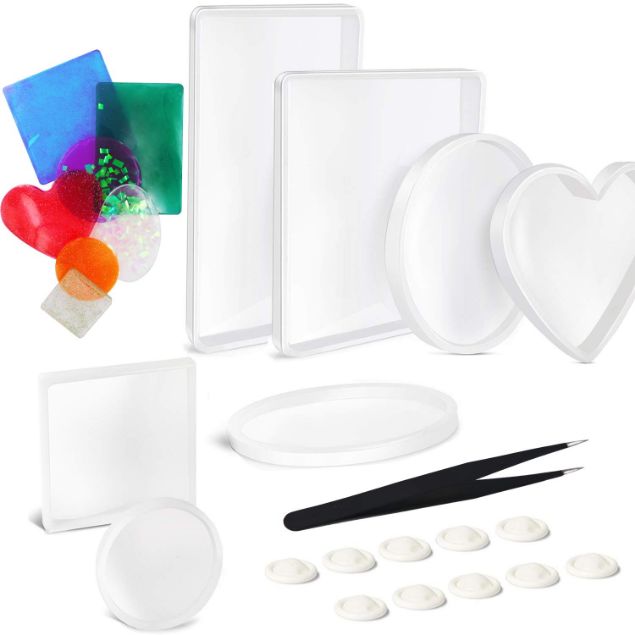
    Are you prepared to immerse yourself in the captivating realm of resin crafting? Whether you're an experienced artisan or an inquisitive novice, working with resin molding offers boundless opportunities to fashion exquisite jewellery and accessories. Here at Strand Hardware, we're eager to accompany you on this journey of exploring resin for molds, empowering you to unleash your imagination and breathe life into your designs.

    Understanding Resin

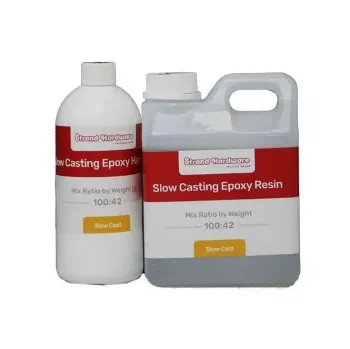
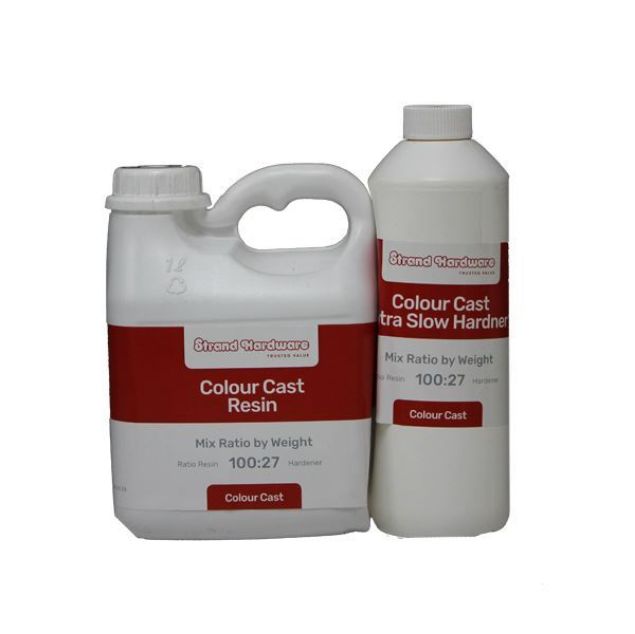
    Resin stands as a versatile substance that transitions from a liquid to a solid form upon curing. Its popularity in crafting stems from its clarity, resilience, and its capacity to gracefully encase objects. Epoxy resin and polyester resin represent the two primary types, each possessing distinct traits and applications, yet both are suitable for crafting jewellery and accessories.

    Selecting the Appropriate Resin

    When choosing resin for your molding endeavours, it's imperative to weigh factors like transparency, UV resistance, and curing duration. At Strand Hardware, we present premium-grade resins meticulously crafted for jewellery-making and molding purposes. Our resins offer exceptional clarity, minimal contraction, and superior UV resilience, ensuring the enduring vibrancy and durability of your creations.

    Preparing Your Molds

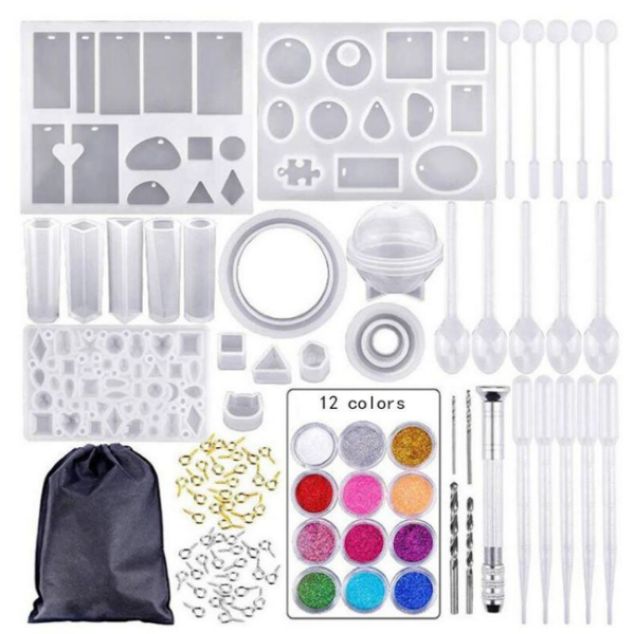
    Before pouring resin into your molds, meticulous preparation is key to achieving optimal results. Begin by meticulously cleaning your molds, ensuring they're devoid of any dust or debris that could compromise the clarity of your final product. If employing silicone molds, applying a thin layer of mold release agent facilitates effortless demolding post-curing.

    Mixing and Pouring Resin

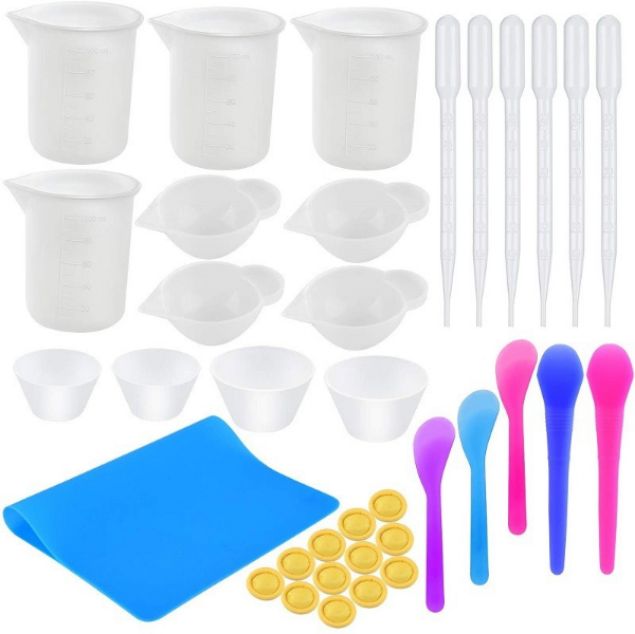
    Once your molds are primed, it's time to blend and pour the resin. Adhere closely to the manufacturer's instructions, as resin mixing ratios and curing times may vary. Employ measuring implements and stirring utensils to ensure precise measurement and thorough amalgamation, as any irregularities could impact the curing process and the ultimate appearance of your piece.

    Incorporating Pigments and Additions

    An exhilarating facet of resin crafting lies in the ability to personalize your creations with pigments, glitter, and other additives. Experiment with an array of colour combinations and effects to actualize your desired aesthetic. From glistening metallics to vivid fluorescents, opportunities abound for enhancing your resin jewellery and accessories.


    Curing and Demolding

    Following the resin's placement into the molds, allocate sufficient time for curing following the manufacturer's guidelines. This typically involves allowing the resin to solidify undisturbed for several hours or overnight until fully hardened. Upon completion, delicately remove your pieces from the molds by flexing or peeling away, exercising caution to avoid damage to the resin or mold.


    Applying the Final Touches

    With your resin creations demolded and cured, it's time to refine them further. Utilize fine-grit sandpaper or a rotary tool to smooth any rough edges and imperfections, preserving the integrity of your design. Additionally, you can drill holes for attaching jump rings or earring findings, or layer additional resin to introduce depth and dimension.

    Maintaining Your Resin Masterpieces

    To safeguard the longevity of your resin jewellery and accessories, handling them with care and proper storage is imperative. Steer clear of exposing your pieces to excessive heat or direct sunlight, as this may lead to discolouration or distortion over time. Instead, store them in a cool, dry environment, shielded from moisture and humidity.

    Embark on Your Resin Crafting Journey Today!

    Are you eager to unleash your creativity through resin molding? Visit Strand Hardware to peruse our assortment of top-tier resins, molds, and accessories, and embark on the realisation of your distinctive creations today. Whether fashioning personalised pendants, bold earrings, or singular charms, we furnish all the essentials to breathe life into your designs.


    Unleash Creativity with Everyday Tools: A DIY Enthusiast's Guide
    0 Unleash Creativity with Everyday Tools: A DIY Enthusiast's Guide

    In the dynamic realm of DIY endeavours and household enhancements, ordinary tools emerge as the unheralded champions of ingenuity and skill. From the modest hammer to the adaptable screwdriver, these tools serve as the fundamental elements shaping our projects. Yet, beneath their surface simplicity lies a profound importance that every DIY enthusiast should recognise.

    Adaptability

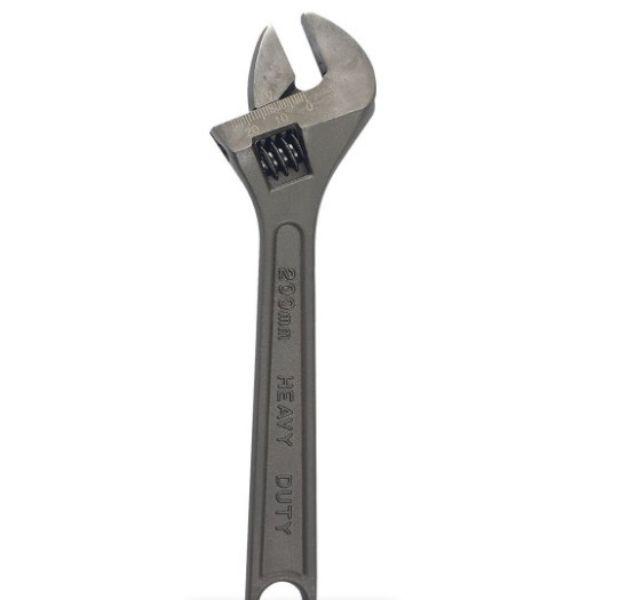
    Among the most compelling attributes of everyday tools is their versatility. Take, for instance, the adjustable wrench. Featuring adjustable jaws, it efficiently handles a broad spectrum of nuts and bolts, proving indispensable for tasks ranging from plumbing fixes to furniture assembly. Likewise, a dependable utility knife fulfils multiple roles, from precise cutting to wire stripping, consistently demonstrating its value across various projects.


    Effectiveness

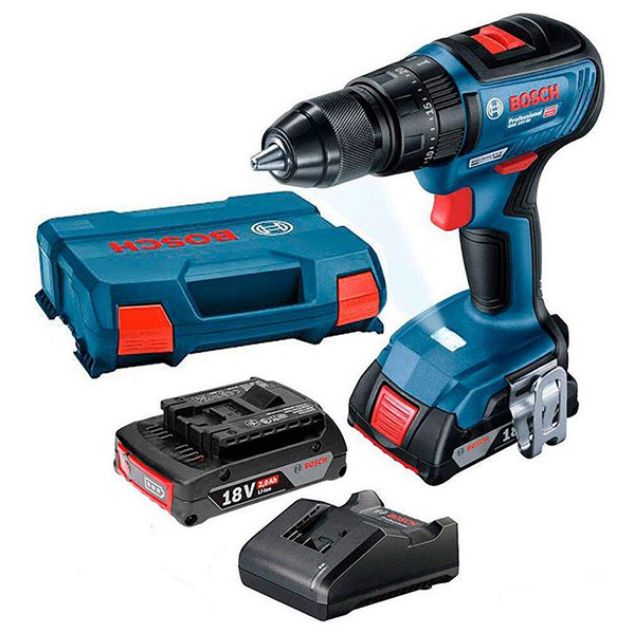
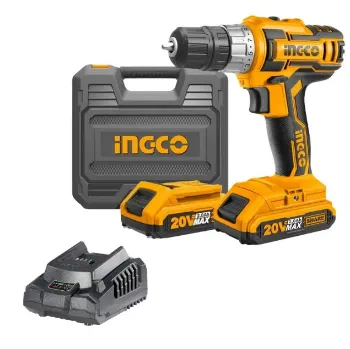
    When embarking on any DIY project, time is a precious commodity, and everyday tools excel in maximizing efficiency. Consider the power drill, a staple in any toolkit. With its capability to bore holes and drive screws effortlessly, it simplifies tasks that would otherwise be arduous and time intensive. By leveraging the prowess of such tools, DIY enthusiasts can expedite projects, fostering enhanced productivity and satisfaction.


    Accessibility

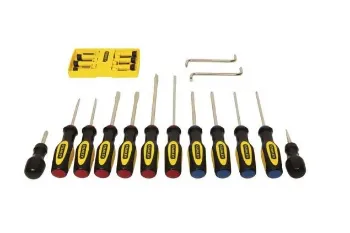
    Unlike specialized equipment that often necessitates a steep learning curve, everyday tools are accessible to DIY enthusiasts of all proficiency levels. Whether you're an experienced professional or a novice hobbyist, these tools offer an intuitive experience that encourages learning and experimentation. With practice, anyone can master the techniques of using tools like saws or wrenches, empowering them to undertake a diverse array of projects with confidence.

    Cost-effectiveness

    Investing in a high-quality set of everyday tools isn't merely a wise choice; it's also a financially prudent one in the long term. Although the initial investment might seem daunting, the durability and dependability of these tools ensure enduring value. Rather than relying on costly contractors or rental services, DIY enthusiasts can take control of their projects, saving money and acquiring valuable skills in the process.

    Empowerment

    Arguably the most significant aspect of everyday tools is the sense of empowerment they confer upon DIY enthusiasts. Equipped with the right tools and knowledge, individuals can reimagine their living spaces, address household repairs, and unleash their creativity in unprecedented ways. Whether crafting a custom bookshelf or rejuvenating a backyard deck, the ability to manifest ideas into reality is a profoundly empowering experience facilitated by everyday tools.

    The significance of everyday tools in the world of DIY cannot be overstated. From their adaptability and efficiency to their accessibility and cost-effectiveness, these tools serve as indispensable allies for DIY enthusiasts of all backgrounds. So, the next time you reach for that dependable screwdriver or wrench, remember the profound impact of these everyday heroes in shaping our surroundings.

    Ready to embark on your next DIY endeavour? Explore the extensive selection of quality tools at Stand Hardware and unleash your creativity today!

    Taming the DIY Tiger: Why Ingco Tools Are Your Ally
    0 Taming the DIY Tiger: Why Ingco Tools Are Your Ally

    Home improvement projects can feel like wrangling a pack of wildcats. Confusing brands, hefty price tags, and figuring out what tool goes where can make anyone want to call in the pros. But what if there was a brand offering top-notch tools at budget-friendly prices, empowering you to conquer your DIY dreams? Enter Ingco Tools, your one-stop shop for transforming home improvement visions into reality.

    Ingco Tools: Trusted Quality

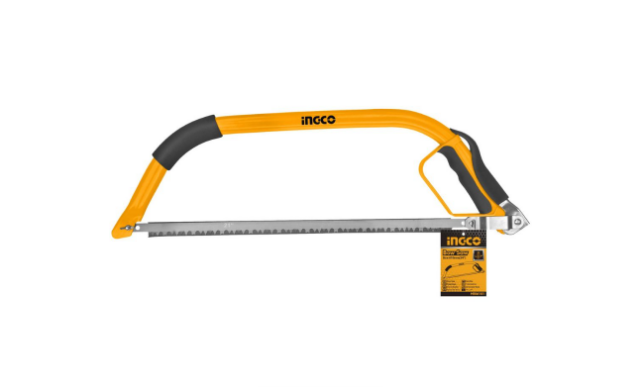
    Ingco boasts a treasure trove, from powerful workhorses like drills and impact drivers to everyday essentials like hammers, screwdrivers, and wrenches. Whether you're a seasoned DIY pro or a complete beginner, their extensive inventory caters to all skill levels and project needs. But what truly sets Ingco apart is their unwavering commitment to making DIY accessible. They believe exceptional quality shouldn't come with a hefty price tag, allowing everyone to flex their DIY muscles.

    But don't just take our word for it – Ingco Tools consistently garners accolades from contented customers worldwide. With a reputation for excellence that precedes them, Ingco Tools have become synonymous with superior craftsmanship and dependability.

    Extensive Product Range Catering to Every Requirement

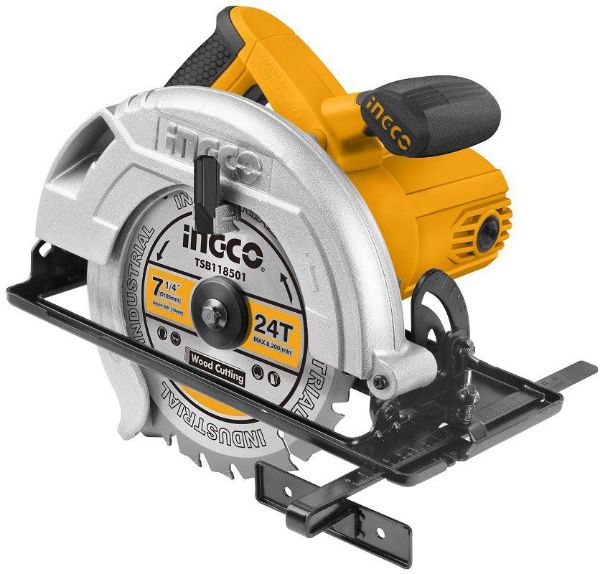
    Irrespective of the nature of your DIY project, Ingco has you covered. Their diverse array of products encompasses everything from hand tools to power tools, ensuring that you possess the requisite tool for every task. Whether tackling a minor repair or embarking on a substantial renovation, Ingco Tools offers the perfect solution to effortlessly facilitate your endeavours.

    Moreover, boasting innovative features and ergonomic designs, Ingco Tools are tailored to enhance your convenience. Bid farewell to hand fatigue and welcome comfortable, efficient tool usage that empowers you to work smarter, not harder.

    User-Friendly Designs for Everyone

    Ingco understands that not everyone is a seasoned DIY expert. That's why they design their tools with user-friendliness in mind. Their tools are intuitive and easy to operate, making them perfect for both experienced DIYers and those just starting.

    Constant Innovation for the Evolving DIYer

    The world of DIY is constantly evolving, and Ingco is committed to keeping pace. They continuously expand their product line and integrate new technologies to cater to your ever-changing needs. With Ingco, you can find the latest tools and features that make your DIY projects easier, faster, and more efficient.

    Exceptional Affordability

    One of the most appealing aspects of Ingco Tools is their affordability. Despite their superior quality and performance, Ingco Tools are remarkably budget-friendly, rendering them accessible to DIY enthusiasts across all proficiency levels and financial brackets.

    With Ingco Tools, you can invest in quality equipment without depleting your finances, enabling you to undertake more projects and confront larger challenges without hesitation.

    Ready to ditch the intimidation and embrace the satisfaction of DIY projects?

    Head over to Strand Hardware to explore their extensive Ingco product range. With Ingco by your side, the world of DIY possibilities is no longer just a dream; it's within your reach. So, grab your Ingco tools, unleash your inner DIY hero, and start creating the home of your dreams, one project at a time!