

Bandsaws, versatile tools renowned for their precision in woodworking tasks, occasionally encounter obstacles that impede their performance. Within this article, we will delve into prevalent issues faced by bandsaw users—blades breaking, inaccurate cuts, and unwelcome noises. We will delve into the correlation between these issues and blade selection and improper alignment, offering practical advice to overcome these challenges and relish seamless cutting outcomes.
Selecting the Right Blade: Ensuring Precision
The selection of an appropriate blade is pivotal to achieving accuracy and avert potential complications.
Here's what warrants consideration:
Determining Blade Length: Accurate blade length is paramount. In cases where it's absent from the machine's nameplate, measurement of a fitting old blade suffices. Employ a felt-tipped pen to mark the starting point for measurement.
Choosing Blade Width: Blade width influences cut curvature.
- Utilize a 6mm blade for intricate curves.
- Opt for a 10mm blade for straight and moderately curved cuts.
- Select a 13mm blade for primarily straight cutting.
Tooth Arrangement: Coordinating tooth configuration with wood thickness is vital. The goal is around 3 teeth engaging the wood.
While acquiring coarser blades beyond 4 teeth per inch (tpi) is demanding, adhere to this rule of thumb:
- 14 tpi for 6mm thick wood.
- 6 tpi for 12mm thick wood.
- 4 tpi for wood 20mm or thicker.
Noise and Blade Coarseness: Annoying sounds often result from deploying a fine blade on thick wood. Counter this by switching to a coarser blade. This spacing between teeth prevents swarf entrapment and the resultant squealing noise.
Blade Alignment: Crafting Precise Cuts
Faulty blade alignment undermines precision and introduces frustration. This stepwise guide facilitates blade alignment for optimal outcomes:
Step 1: Preliminary Alignment Measures
- Loosen the blade tensioning knob.
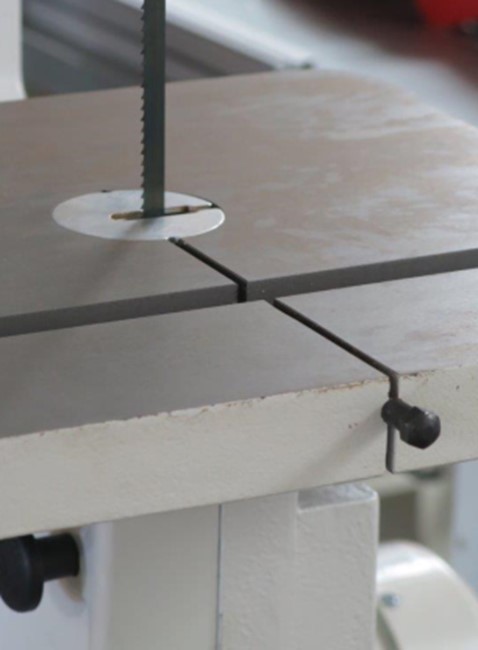
- Remove the table insert and the end-slot pin.
- Extract the old blade.
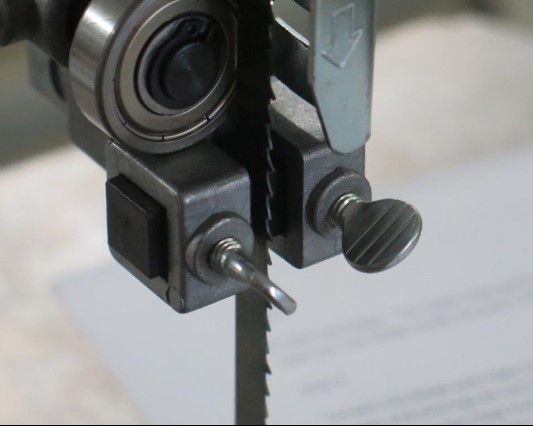
Step 2: Calibration of Blade Guides and Support Bearings
- Loosen screws and knobs holding blade guides and support bearings. An allen key may be necessary.
Step 3: Installing the Fresh Blade
- Confirm that teeth face downward towards the table. Inverting the blade corrects orientation.
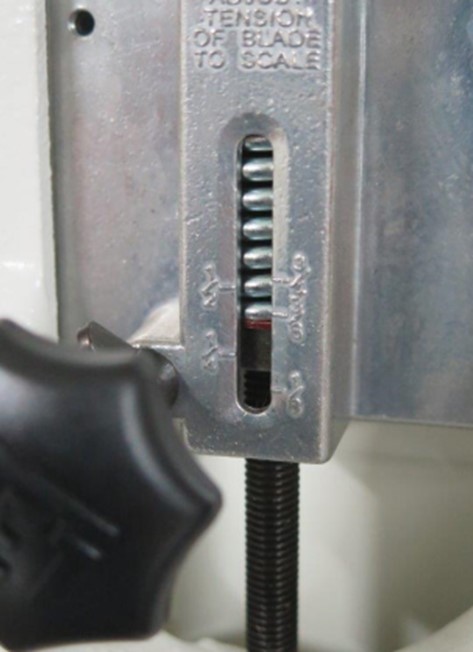
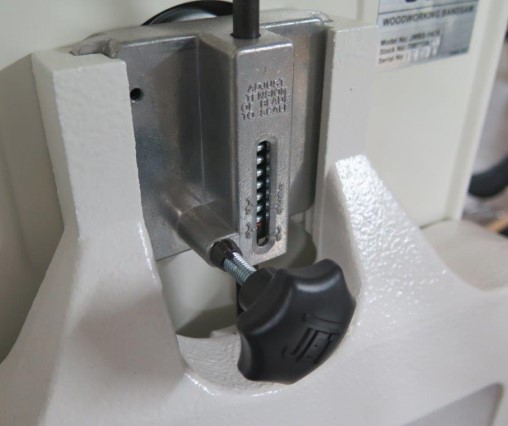
Step 4: Tensioning and Tracking
- Apply appropriate blade tension (or 6mm deflection over 150mm distance for untitled blades).
- Verify that the blade follows the centre of the wheel. If necessary, alter the tilt of the upper wheel.
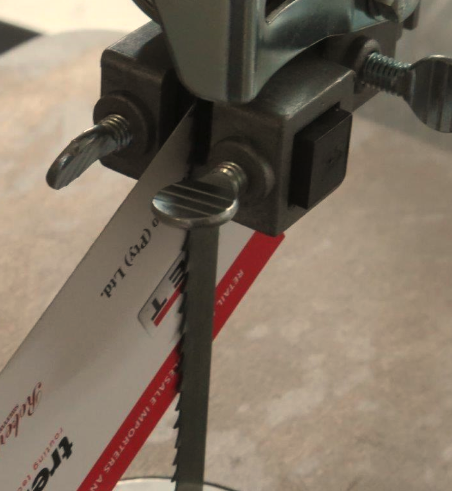
Step 5: Fine-tuning of Guides and Bearings
- Start by addressing the bearings positioned behind the blade, both above and below the table.
- Gradually shift them forward until a 1mm gap emerges between the blade and the bearing.

- Proceed to adjust the guides situated on either side of the blade.
- Maintain a minimal distance, roughly equivalent to the thickness of a sheet of paper, between these guides and the blade.
- A helpful hint: Slide a folded piece of paper or a banknote between the blade and the guide blocks.
- Apply pressure to secure the two blocks against the blade, locking them securely in place.
- Afterwards, remove the paper insert and manually rotate the upper wheel to ensure smooth blade movement.
- Note that these guides offer flexibility in both backward and forward adjustments.
- Be cautious to prevent contact between the guides and the blade's teeth to prevent any potential blade damage.
- If you observe wear and tear in the guide blocks, it's advisable to remove them and restore their shape by sanding them squarely with the use of a disc sander.
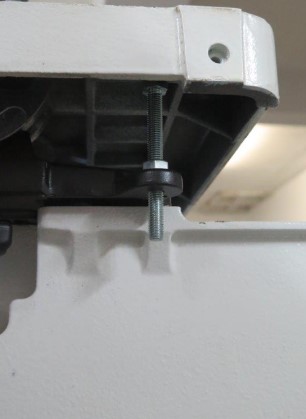
Step 6: Validation of Table Alignment
- Confirm the table's 90-degree alignment with the blade. Make necessary adjustments through table bolts.
Conclusion
Adherence to these blade selection and alignment insights empowers you to surmount typical bandsaw challenges, facilitating seamless, accurate, and trouble-free cutting endeavours. Optimal blade choice and precise alignment transform your bandsaw into an instrument of pleasure, instilling the confidence and precision essential for tackling woodworking projects.