Close
All Categories
    Filters
    Preferences
    Search
    RSS

    Strand Hardware Blog

    Crafting Excellence with Table Saw Precision: Key Adjustments Every Woodworker Should Know
    0 Crafting Excellence with Table Saw Precision: Key Adjustments Every Woodworker Should Know

    Woodworking enthusiasts are aware of how important accuracy is to their artistic vision. Every woodworking workshop is built around the table saw, a multipurpose tool that transforms unfinished lumber into pieces of art. Precision is the key, depending on four fundamental refinements. We'll walk you through these adjustments in this document to make sure your table saw is set up for success.

    1. Blade Alignment with Mitre Slot Groove: Anchoring Precision

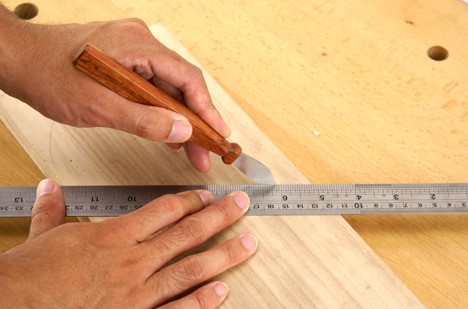
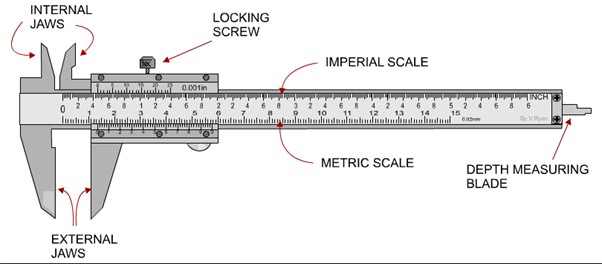
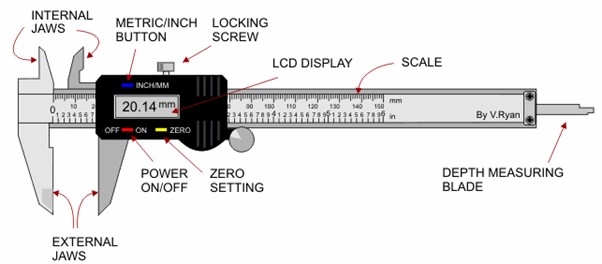
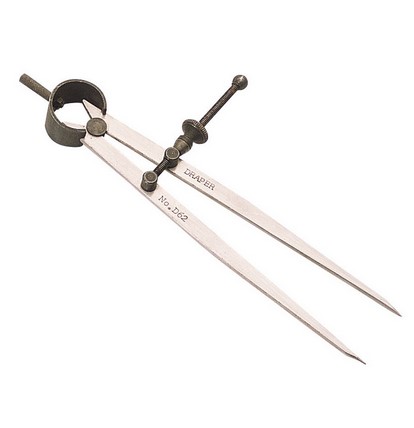
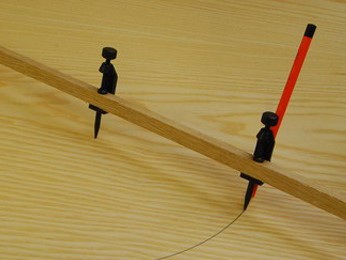
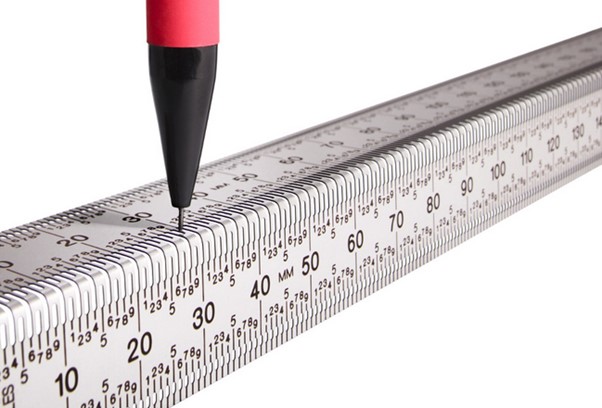
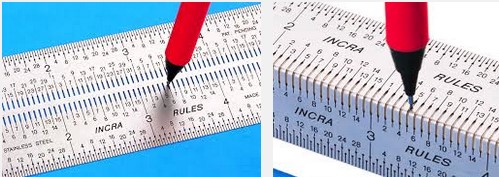
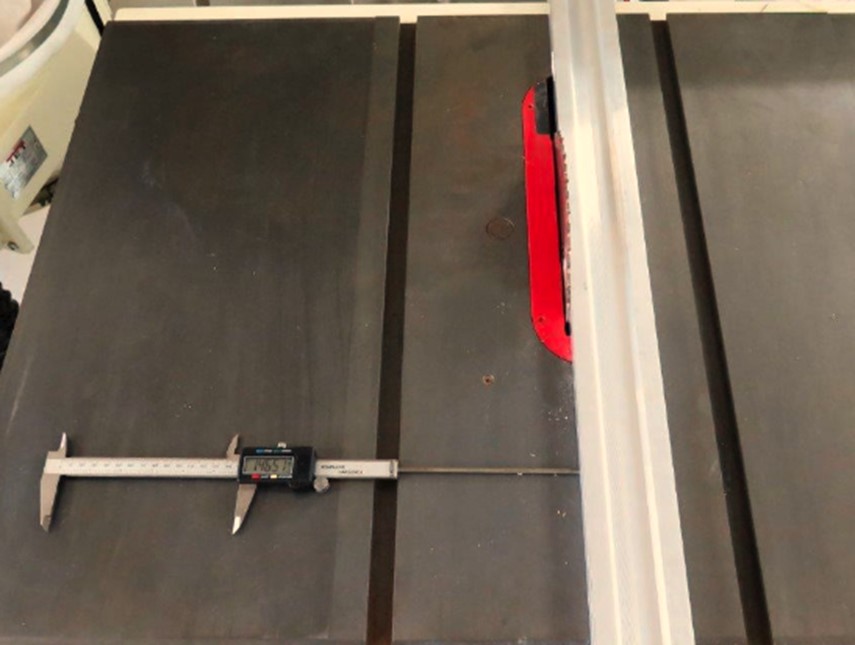
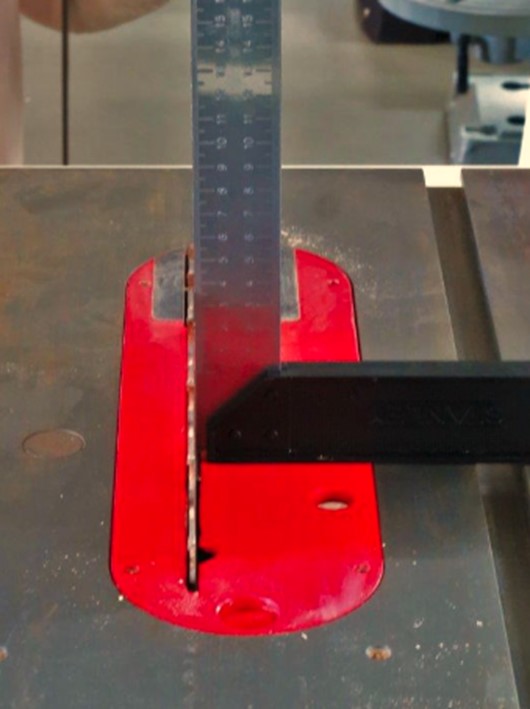
    During the inaugural assembly of your table saw, meticulous attention is dedicated to ensuring the blade's alignment with the mitre slot groove. This preliminary synchrony is pivotal for precise incisions. A straightforward technique to evaluate this alignment entails situating a straight edge adjacent to the blade, followed by using a Vernier calliper to compute the distance from the groove to the rule.

    If you experience any non-parallelism with the blade, don't be concerned. The screws holding the trunnion assembly to the table must be loosened as part of the adaption operation. You can get precise alignment by carefully manipulating the assembly. It becomes necessary to unbolt the bolts holding the table to the framework and then adjust when certain saw models have an immovable trunnion. The good news is that blade parallelism realignments are rarely required, making this step more common practice for many carpenters.

    1. Ensuring Fence Synchrony: Priming for Precision Cuts

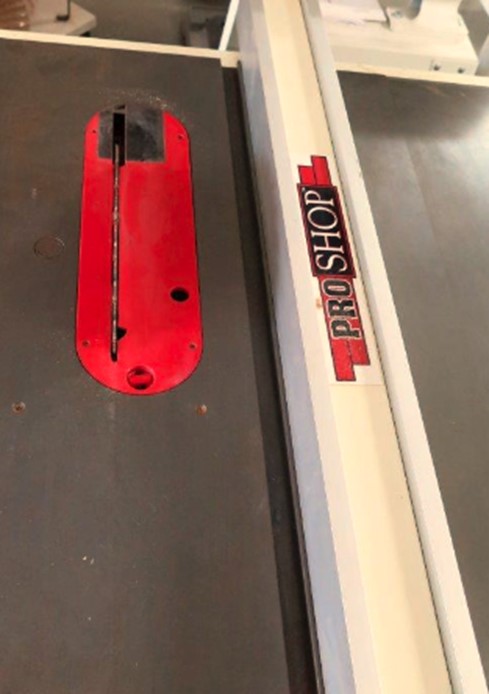
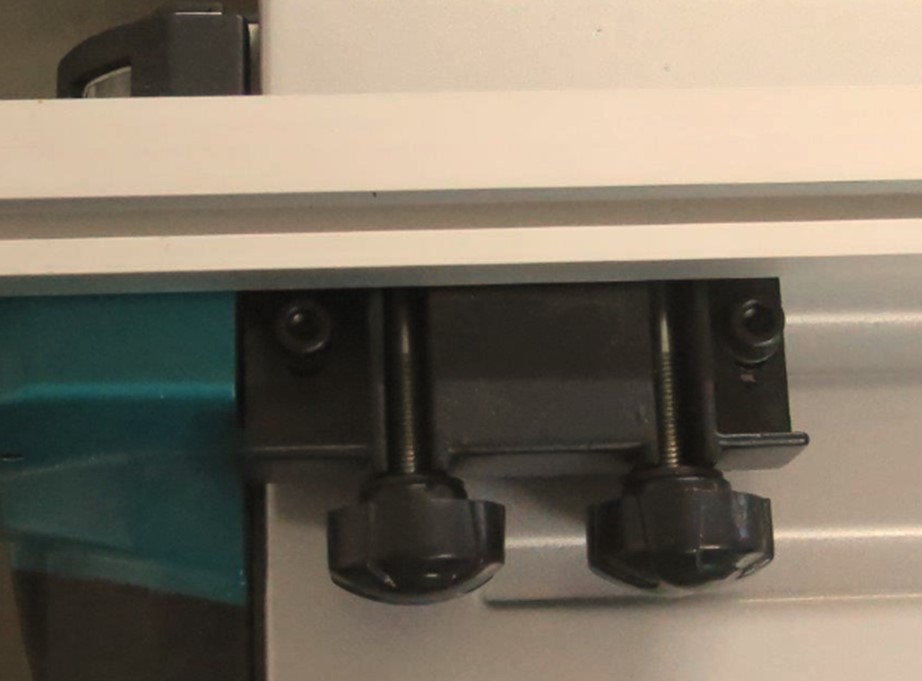
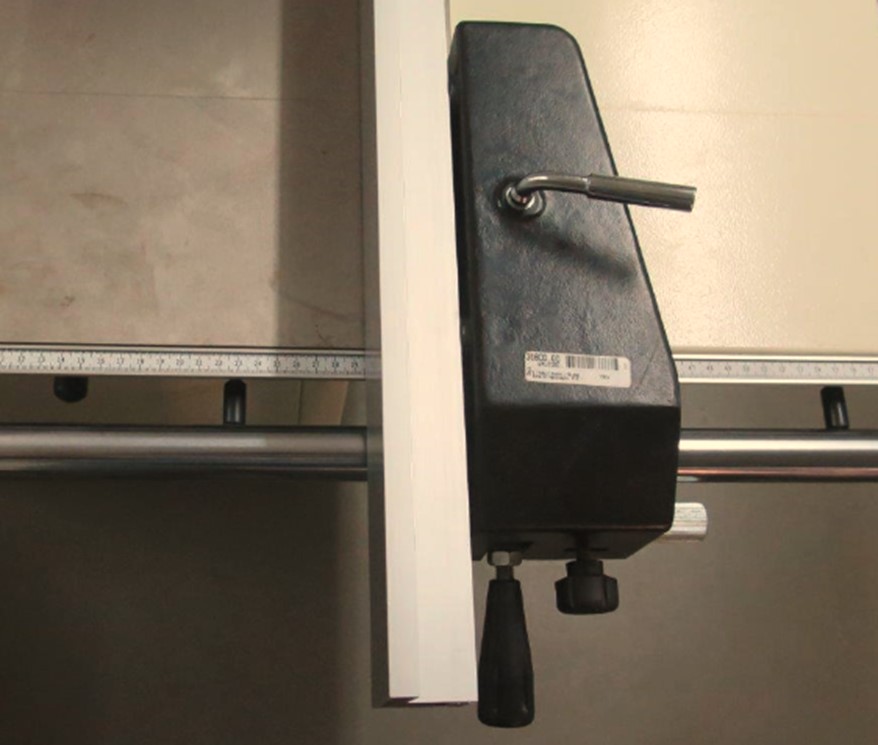
    Fences stand as indispensable components of any table saw, yet their configuration varies amidst diverse models. The fundamental principle remains unaltered: the fence must align in parallel with the mitre slot groove. To achieve this congruence, the utilization of adjustment screws is imperative, which modify the angle between the fence and the fence rail. Give this detail plenty of time to be mastered because a well-matched fence ensures that your workpieces will be carefully guided for flawless cuts.

    1. Blade Orthogonality to the Table: The Art of Right Angles

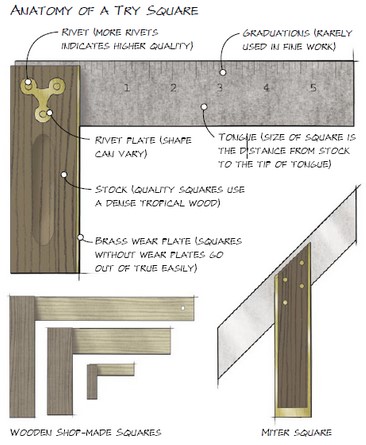
    Determining the blade's orthogonality to the table assumes a pivotal role in obtaining square cuts. For this purpose, employ a square in conjunction with the blade. The tilt mechanism of the saw incorporates a casting that engages an adjustment screw upon reaching a stop. Upon this cessation, the blade should manifest an impeccable 90-degree alignment with the table. This tuning guarantees that your incisions are not solely precise but also geometrically congruous.

    1. Mitre Square Accordance: The Culmination of Adjustments

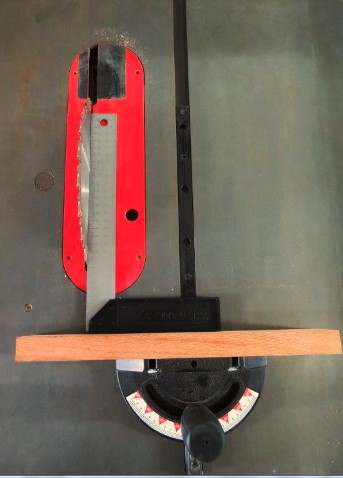
    Making sure your mitre square is perpendicular to the blade is essential for the ideal setup. The use of a square is once again utilized to support this uniformity. You should be able to precisely fine-tune the alignment of your mitre square thanks to adjustment screws. When using the mitre gauge for angled cuts, this step ensures that your workpieces will precisely meet your precision requirements.

    Conclusion: Artisanal Excellence via Table Saw Refinements

    Your woodworking endeavours demand nothing less than quality, and this pursuit of greatness begins with the accuracy of your table saw. You can set the foundation for accurate and satisfying woodworking projects by becoming a master of these four cardinal adjustments: blade parallelism, fence alignment, blade orthogonality, and mitre square conformity. Remember that even though these details might seem technical, they fundamentally support your woodworking knowledge and allow your creativity to shine through flawlessly finished items.

    Mastering Precision in Woodworking: Unveiling Essential Measuring Tools for Your Workshop
    0 Mastering Precision in Woodworking: Unveiling Essential Measuring Tools for Your Workshop

    Precision reigns supreme in the realm of woodworking and craftsmanship. Whether you're a seasoned professional or a dedicated hobbyist, the foundation of successful projects lies in accurate measurements. While tape measures, rulers, and try squares hold their well-deserved positions in every workshop, a trove of lesser-known measuring tools exists, ready to enhance your precision game. In this article, we'll explore these tools that have the potential to become your trusted allies.

    Marking Knife: The Epitome of Precision

    When uncompromising accuracy is essential, the marking knife takes the spotlight. This instrument's slender, precise line creates a marking outline that fits seamlessly against the rule, eliminating any margin for errors. In contrast to pencils, it maintains its edge over time, ensuring consistent accuracy.

    Combination Square: Versatility Redefined

    The combination square transcends its square shape, evolving into a versatile multitool that's indispensable in any workshop. Let's delve into its capabilities:

    • By sliding the rule within its housing, easy parallel line marking becomes achievable.
    • Measuring the depth of mortises becomes effortless by inserting the rule into the joint and referencing the base.
    • Accurate 45-degree mitres are a simple task.
    • The incorporated spirit level simplifies shelf levelling.
    • The built-in scribing point aids in drawing exact lines.
    • Enhance its functions with accessories like the centre-finding head and protractor for diverse angles.

    Try Square: Your Trusted Accuracy Companion

    Quality is pivotal when it comes to Try squares. Seek out a square with a Rosewood base and brass inlay to counteract wear. Validate its precision by marking parallel lines with a recognized straight edge, ensuring consistent measurements from both sides of the square.

    Vernier Callipers: Elevating Precision

    While not intended for marking, vernier callipers are indispensable for meticulous measurements. Capable of measuring down to 0.1mm, they're a necessity for critical accuracy. The scale is read from the 0-marked line on the right-side jaw. To determine the next decimal point, align the lines on the lower scale with those on the scale above. Digital variations offer even greater user-friendliness, provided the battery is operational.

    Spring Dividers or Compasses: Perfect for Intervals and Circles

    Whether you're marking regular intervals or circles, spring dividers come to your aid. These tools aren't solely beneficial for woodturners; they also serve as invaluable companions for a range of projects.

    Trammel Points: Crafting Grand Circles

    When the task involves sketching large circles, trammel points come into play. Utilizing a ruler or wooden strip as a spacer, they're ideal for projects involving bandsaws or jigsaws to cut circles.

    INCRA Rules: Precision with Flair

    INCRA rules elevate accuracy with grooves spaced at 1mm intervals. Slide a 0.5mm lead pencil through these grooves for unparalleled precision in your measurements.

    Conclusion:

    In the world of woodworking, the choice of measuring tools can be the decisive factor between a flawless masterpiece and a disappointing mishap. Beyond the familiar tape measures and squares, a myriad of specialized instruments beckons exploration. From marking knives to vernier callipers, each tool contributes its unique prowess, enhancing the precision and excellence of your work. So, the next time you enter your workshop, contemplate diversifying your measuring arsenal – your projects will undoubtedly appreciate it.